
Quick Start Guide#
First, install Vapor from our downloads page. Sample data can be found here.
Launch Vapor#
After following the installation instructions, launch the application by doing the following:
- OSX:
Vapor3 will be located within your Applications folder. Double click on Vapor3’s icon.
- Windows:
Unless you chose a different directory during installation, Vapor3 will exist in C:\Program Files\VAPOR\vapor.exe. Double click on the executable.
- Linux:
Run the downloaded AppImage from your downloads folder.
Load Data#
There are two ways to get data into Vapor3.
To load data, do one of the following from the File menu:
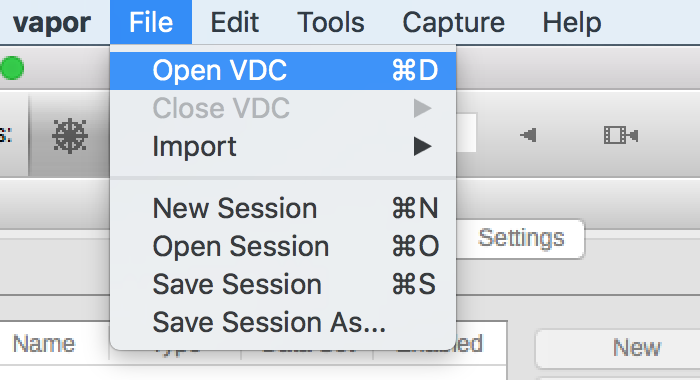
- Load a .vdc file after converting your data into a Big Data with VDC
File->Open VDC
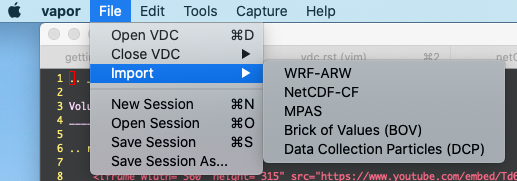
- Import your data, if your datatype is supported.
File->Import->[dataType]
Loading a .vdc file |
Importing data |
|
|
or |
|
Note
If you have multiple datasets, you must load or import each one individually.
Create a Renderer#
Now that we’ve loaded data, we can create a new Renderer.
Vapor3 displays all of your renderers in a table in the upper left corner of the application. Next to this table are controls that let you create New renderers, Delete renderers, or Duplicate existing renderers.
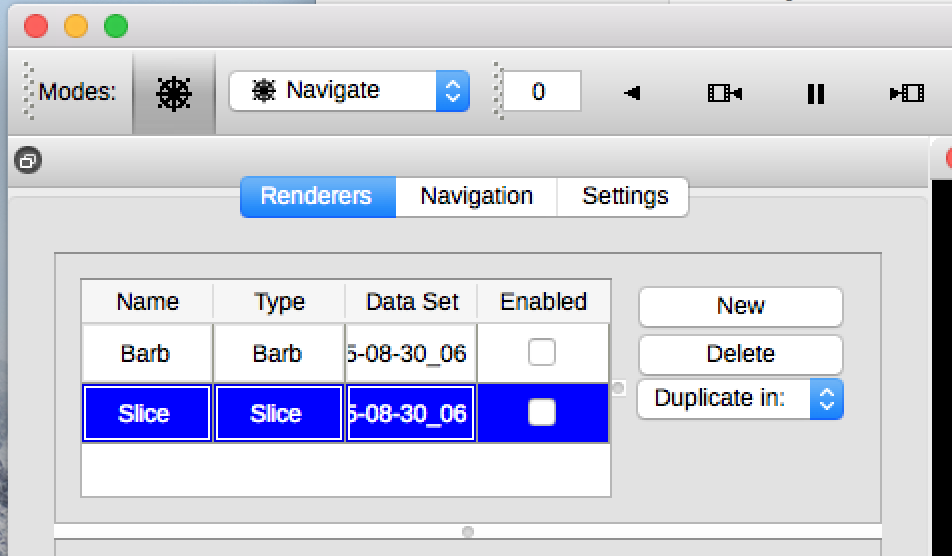
Vapor3’s Renderer Table.#
Click on New. This will raise a window that will let you choose from the currently available renderers. Pick the Slice Renderer by double-clicking on the Slice button.
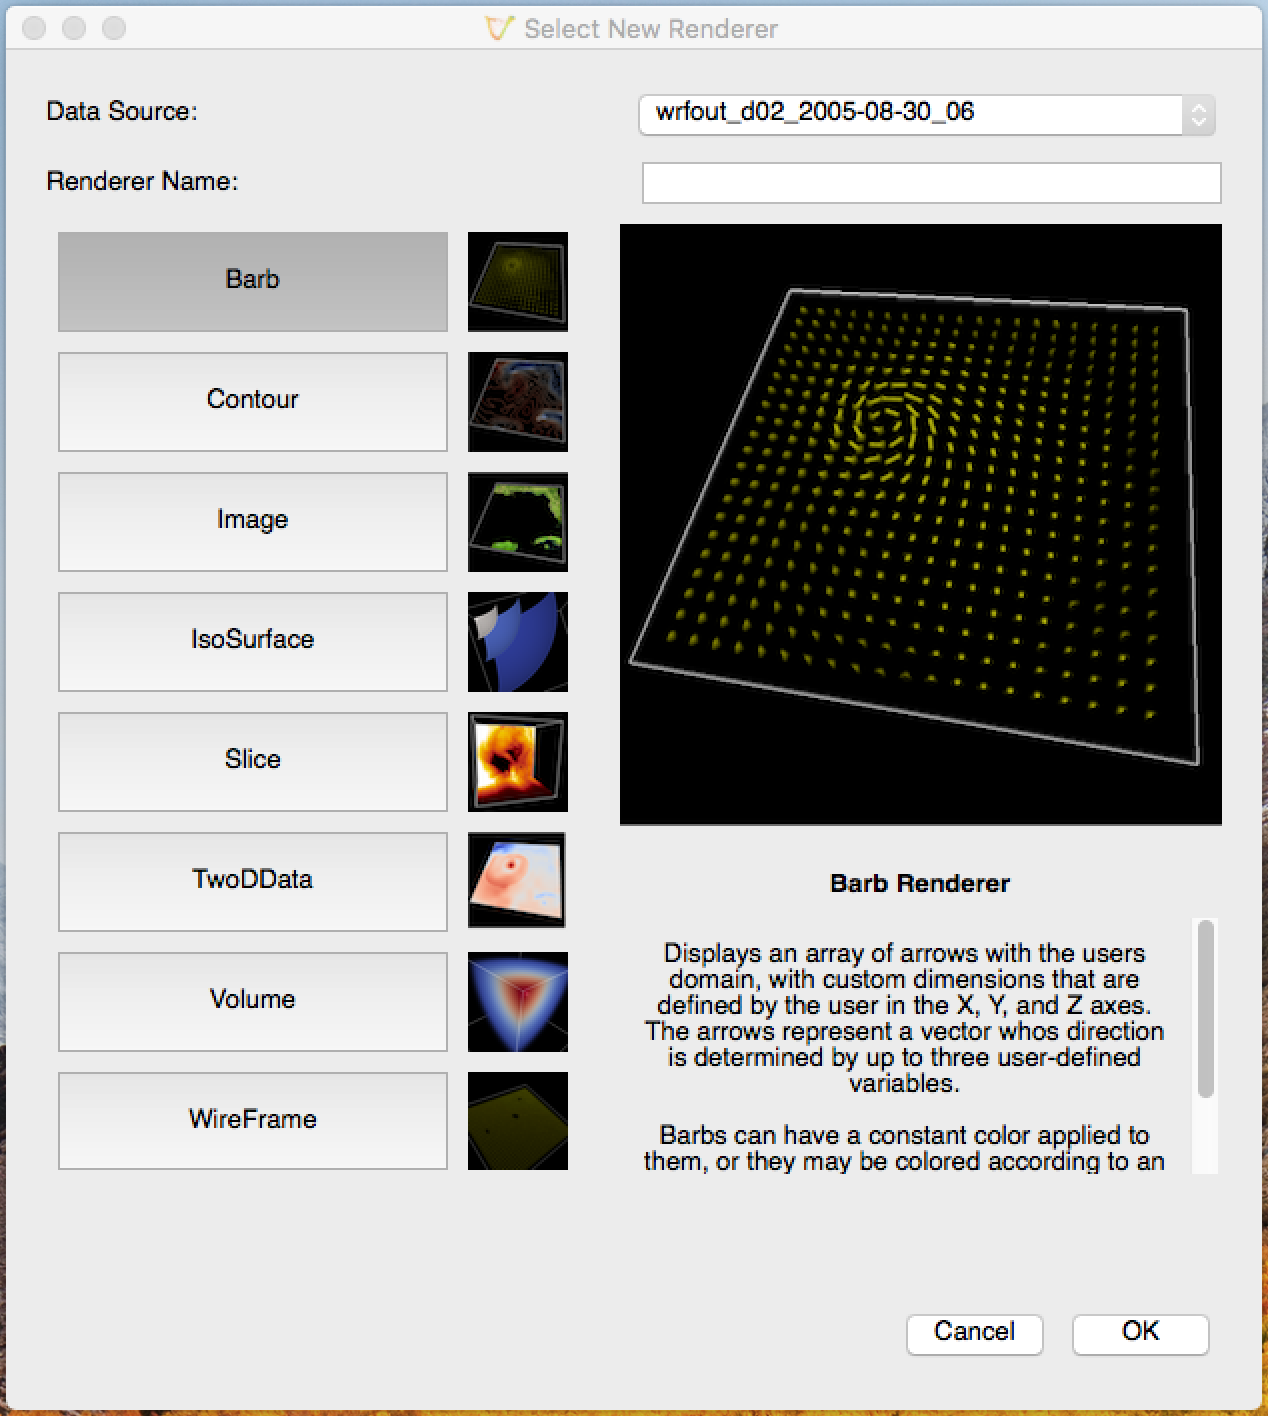
Vapor3’s New Renderer Dialog#
Notice that your new Slice Renderer has been added to the Renderer Table. By default, all renderers are disabled after being created. To enable your Slice renderer, click the Enabled checkbox in the Renderer Table that’s in the same row as your new Slice.
Now that you have your first Renderer, you can do the following:
Change the displayed variable in the Variables Tab
Change the color mapping of your variable in the Appearance Tab
Modify the orientation and region that your renderer is drawn to in the Geometry Tab
Add annotations and color bars in the Annotations Tab
At this point, we’ve created our first renderer. To customize it, we need to get familiar with the four tabs listed above. The Variables Tab and Appearance Tab are the most important to get started with. We also encourage you to watch active demonstrations in our YouTube channel. If you have any questions, bug reports, or feature requests, see our forum section. Thank you.