
Utilizing GitHub#
Note
The following example requires a GitHub API token. One can be created by following this link to GitHub tokens
Shared code repositories, specifically GitHub in this example, are arguably the most important tool in code development. They offer so many benefits such as version control, change history, and an ease to collaborate with others to name a few. This document will cover a few of the beginning steps to utilize GitHub on a JupyterHub instance.
Configure git#
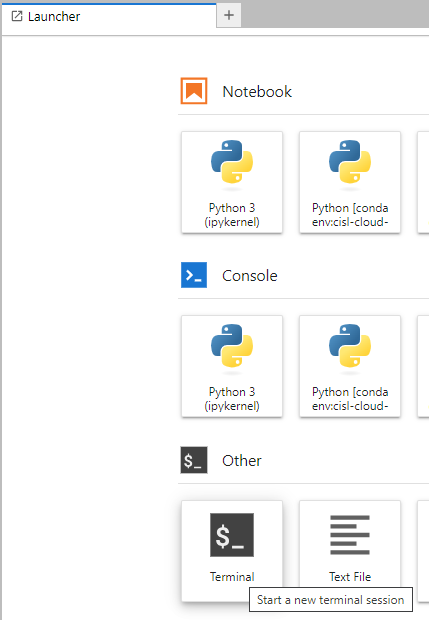
Git is installed in the NCAR JupyterHub user environment by default. Although it is installed there’s a few configuration options that need to be setup before interacting with GitHub directly. Open the Terminal from the Launcher pane in JupyterHub by clicking the Terminal box shown in the image below.
Once the terminal is open it’s time to use the commands below to set your email address and name for GitHub.
git config --global user.email "you@example.com"
git config --global user.name "Your Name"
GitHub Tokens#
When trying to push changes to GitHub repositories it’s likely you will encounter an ask for authentication. This prompts for your username or email and a password, but the option to use your actual password has been disabled and you need to use an access token here instead. Create by following this link to GitHub tokens. There’s a dropdown box at the top to Generate new token with two options, a fine-grained token or a general use token. These options can be seen in the image below:
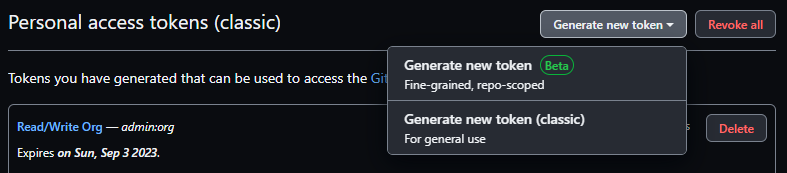
The general use token can be scoped to only allow certain access but it is against all repositories you have access to. A fine grained token can be narrowed down in scope to allow access to where you want while limiting what actions can be performed.
Expiration
Both tokens have you select an expiration date for your token. Best practice is to keep this time as short as possible to help mitigate risks if your token was ever publicly exposed. You can also revoke a token at any time.
Once you have created your access token store it somewhere safe and encrypted. You will not get access to this token again.
Cloning a repository#
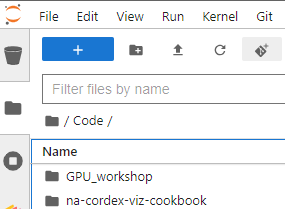
The JupyterHub instance has a Git Clone extension that can be used to copy code in to your user environment. It is suggested to create a folder in your base directory (/home/jovyan or ~/) to keep all code repositories organized. This can be done by right clicking in the File Browser and selecting New Folder or by using mkdir from the Terminal. Once the new folder is created it’s time to clone a repository in to it. Enter your new directory and select the Git Clone button as seen highlighted in the following image:
This will open a window where you can input the URL for the repo you want to clone. If you don’t know where to get this URL the easiest place to get is from the main page of the repository you’re interested in. There’s a green <> Code box that when clicked will display and HTTPS URL that ends in .git. Copy this URL and paste it in to the JupyterHub Git window and select clone. You should now see a folder in your new directory that contains all repository content.